Store Configuration
Audience: Store administrators and developers managing Reevix environment settings, security, and autopilot behaviour.
The Configuration page is the control panel for your store's Reevix setup. It has three tabs: Domains, Engine, and General.
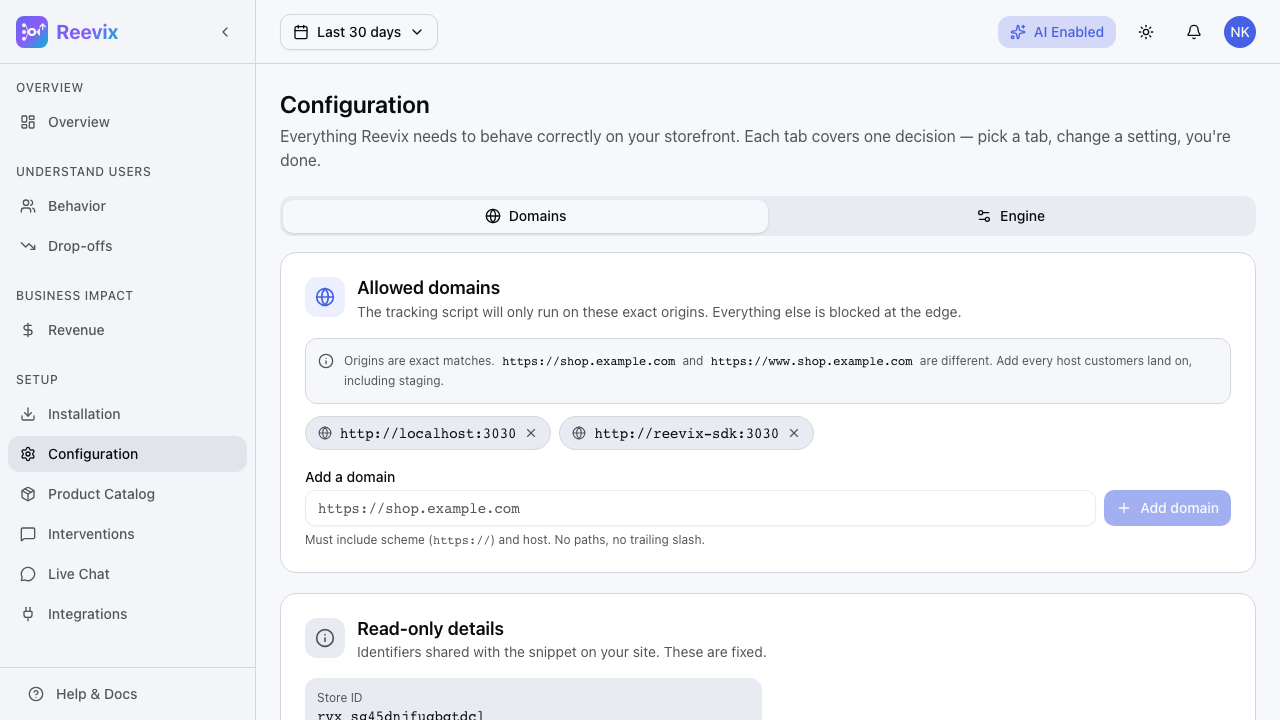
Domains Tab

The Domains tab manages which web origins are authorised to send events to your Reevix store. Only requests from listed domains are accepted.
Adding a Domain
- Type your domain in the input field (e.g.,
https://yourstore.com) - Click Add domain
- The domain appears in the list immediately
Add every domain your store runs on:
https://yourstore.comhttps://www.yourstore.comhttps://checkout.yourstore.com(if on a subdomain)https://staging.yourstore.com(for your staging environment)
Removing a Domain
Click the × next to any domain to remove it. Requests from that origin will be rejected within 60 seconds.
Security note: Removing a production domain will immediately break SDK event collection on that domain. Always verify you're removing the correct entry.
Engine Tab
The Engine tab controls how aggressively the autopilot intervenes with your shoppers.
Tolerance Settings
Three preset profiles control the autopilot's intervention threshold:
| Profile | Confidence Threshold | When to Use |
|---|---|---|
| Conservative | High (80%+) | Low-volume stores, premium/luxury brands where over-messaging is costly |
| Balanced (default) | Medium (60%) | Most stores. Good starting point. |
| Aggressive | Low (40%) | High-volume stores, flash-sale periods, or when maximizing interventions is acceptable |
In Aggressive mode, the autopilot will show messages to more visitors — including those with weaker intent signals. This means more impressions but potentially more intrusive experiences for less-engaged visitors.
In Conservative mode, the autopilot only acts on visitors it is highly confident are in a conversion-relevant state. Fewer interventions, but each one is more targeted.
Recommendation: Start with Balanced. After 2,000+ sessions, check the Revenue page. If intervention rate seems low (< 15% of sessions), switch to Aggressive. If visitors seem over-messaged (high bounce rate correlation), switch to Conservative.
AI Toggle
The Enable AI toggle turns the entire autopilot on or off for the store. When off:
- No interventions are shown
- Behavioral signal collection continues (analytics still work)
- The chat widget (if enabled) continues to function
Use this to temporarily suspend the autopilot without losing your configuration or historical data.
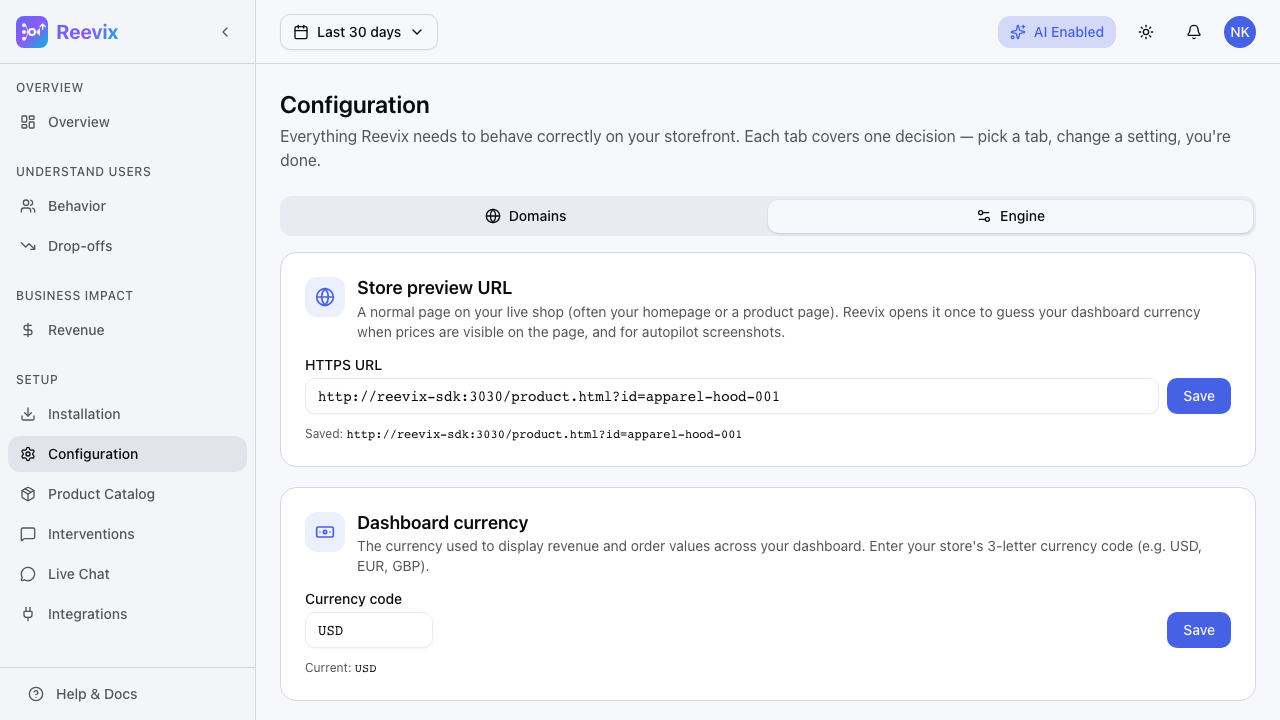
General Tab
Preview URL
Set a URL that Reevix uses as the reference page for:
- AI screenshot analysis (the LLM can "see" your store when generating messages)
- Automatic currency detection (Reevix reads the currency symbol from this page)
Enter your main product or category page URL, e.g., https://yourstore.com/collections/all.
Dashboard Currency
Set the currency code for how revenue is displayed in your dashboard:
| Code | Currency |
|---|---|
USD | US Dollar |
EUR | Euro |
GBP | British Pound |
CAD | Canadian Dollar |
AUD | Australian Dollar |
INR | Indian Rupee |
This setting is display-only — it does not convert revenue figures. Set it to match the currency in which your store prices products.
Environment
Switch between Live and Test mode:
| Mode | Behaviour |
|---|---|
| Live | Production — real visitors, real interventions, real revenue tracking |
| Test | Development — signals are collected and processed but no interventions are shown to visitors |
Use Test mode when integrating the SDK on a staging environment. This prevents test traffic from affecting your analytics or bandit learning.