Email Marketing Integrations
Audience: Marketing managers and developers connecting Reevix to email marketing platforms.
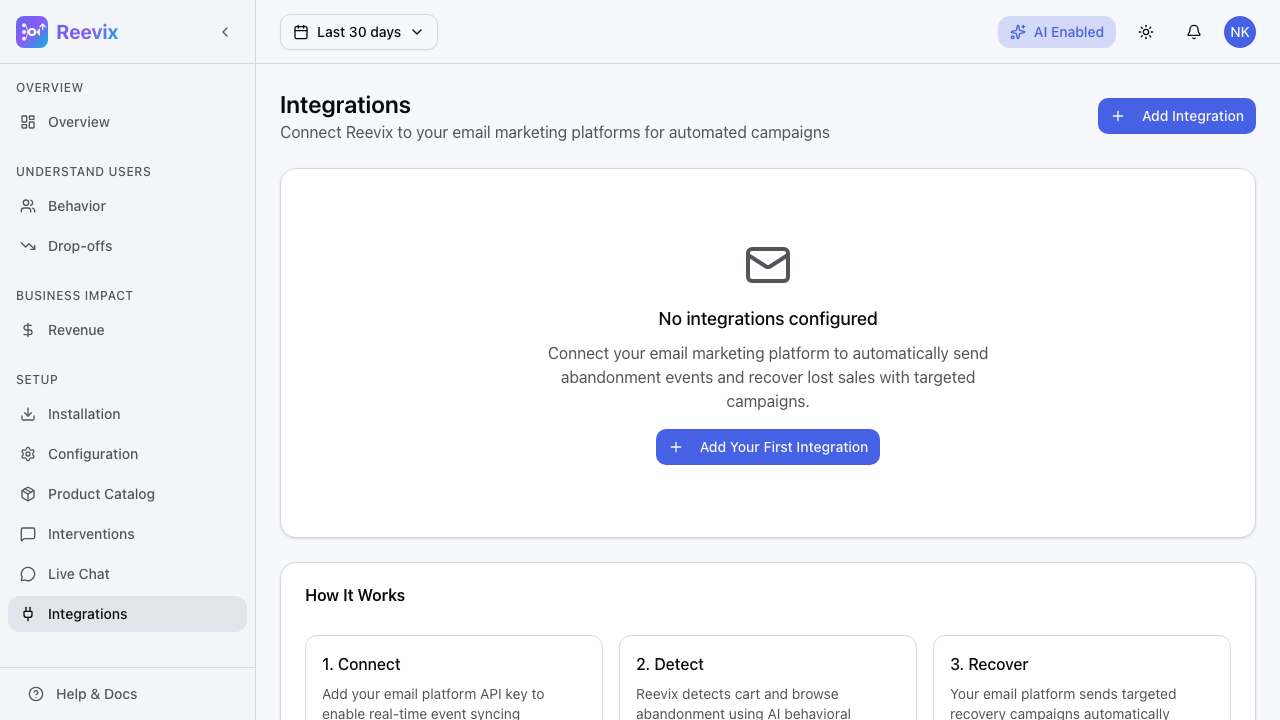
Reevix can trigger behavioural emails through your existing email marketing platform — automatically, based on what shoppers do (or don't do) on your site.
How It Works
When a shopper triggers a qualifying event (e.g., abandons their cart), Reevix fires a webhook payload to your email platform. Your platform then sends the email using your own templates, sender domain, and branding.
Reevix handles: Event detection, payload formatting, and secure delivery.
Your platform handles: Email sending, subscriber management, deliverability, and unsubscribe.
Supported Platforms

| Platform | Integration Type | What Reevix Sends |
|---|---|---|
| Klaviyo | Native API integration | track and identify calls via Klaviyo API |
| Omnisend | Webhook | Standard Omnisend event payload |
| Mailchimp | Webhook | Mailchimp event format |
| Custom Webhook | HTTP POST | Your choice of JSON payload format |
Setting Up Klaviyo
- In Klaviyo → Account → Settings → API Keys, create a new Private API Key with
Events: Writepermission - In Reevix → Setup → Integrations, click Add Integration → Klaviyo
- Paste your Klaviyo Private API Key
- Select which events to send (see table below)
- Click Save & Test — Reevix fires a test event; verify it appears in Klaviyo's Activity Feed
Klaviyo events sent by Reevix:
| Event Name | When It Fires | Payload Includes |
|---|---|---|
Cart Abandoned | Visitor leaves with items in cart (30-min delay) | Product list, cart value, session ID |
Browse Abandoned | Visitor leaves after viewing products without adding | Category, products viewed, price range |
Checkout Started | Visitor enters checkout but doesn't complete | Cart value, item count |
Purchase | Order completed | Order ID, revenue, items |
Setting Up Omnisend
- In Omnisend → Store Settings → API Keys, copy your API Key
- In Reevix → Setup → Integrations, click Add Integration → Omnisend
- Paste your Omnisend API Key
- Select events
- Click Save & Test
Omnisend uses the same event names as above. Events appear in Omnisend → Reports → Automation Activity.
Setting Up Mailchimp
- In Mailchimp → Account → Extras → API Keys, click Create A Key
- In Reevix → Setup → Integrations, click Add Integration → Mailchimp
- Paste your Mailchimp API Key
- Select your Audience (list) from the dropdown — Reevix will only trigger automations for subscribers in this audience
- Select events
- Click Save & Test
Mailchimp events trigger Customer Journeys (Mailchimp's automation builder). Create a journey starting with the relevant Reevix event tag.
Custom Webhook
For any platform not listed above:
- In Reevix → Setup → Integrations, click Add Integration → Custom Webhook
- Enter your Endpoint URL (must accept HTTP POST with JSON body)
- Choose your authentication method:
- Bearer Token — Reevix adds Authorization: Bearer <token> header
- HMAC Signature — Reevix signs the payload with a shared secret; verify on your end
- None — No authentication (only for internal endpoints behind a firewall)
- Select events
- Click Save & Test
Webhook Payload Format
{
  "event": "cart_abandoned",
  "timestamp": "2026-04-28T14:32:00Z",
  "storeId": "sto_abc123",
  "session": {
    "id": "sess_xyz789",
    "email": "shopper@example.com",
    "userId": "usr_456"
  },
  "cart": {
    "subtotal": 149.99,
    "currency": "USD",
    "items": [
      {
        "productId": "prod_001",
        "title": "Classic Wool Sweater",
        "price": 89.99,
        "quantity": 1,
        "imageUrl": "https://yourstore.com/products/sweater.jpg",
        "productUrl": "https://yourstore.com/products/sweater"
      }
    ]
  },
  "metadata": {
    "behaviorState": "evaluating",
    "sessionDuration": 312,
    "pageCount": 8
  }
}
HMAC Verification (Node.js example)
const crypto = require('crypto')

function verifyReevixWebhook(payload, signature, secret) {
  const expected = crypto
    .createHmac('sha256', secret)
    .update(payload)
    .digest('hex')
  return crypto.timingSafeEqual(
    Buffer.from(`sha256=${expected}`),
    Buffer.from(signature)
  )
}
Testing Integrations
Each integration card has a Send Test Event button. Click it to send a synthetic cart_abandoned event to your platform. Verify it arrives before going live.
Event Delay Configuration
| Event | Default Delay | Why |
|---|---|---|
cart_abandoned | 30 minutes after exit | Gives the shopper time to return on their own |
browse_abandoned | 60 minutes after exit | Browse abandonment is lower-intent; longer delay is better |
checkout_started | 15 minutes after exit | Checkout abandonment is high-intent; act faster |
purchase | Immediate | No delay — fire as soon as conversion is confirmed |
You can customise these delays in the integration settings.